MVPVM: Designing Applications using MVPVM Design Pattern
Hey there! In this post we will be seeing how to design applications using MVPVM approach. If you're a .NET Developer and love MVVM more than your girlfriend, that's fine. You may still encounter situations where you may want to use MVPVMor you may land up in a project(that's what happened to me :) ) that uses MVPVM.
Introduction
MVP-VM stands for (Yes! You guessed it right!) Model-View-Presenter-View Model. It's yet another approach that brainy people came up with just to achieve so called "Separation of Concerns".
Really, that's all about it. Read on to get hang off MVPVM in the most shortest and practical way!
Design
We will be looking at this from the perspective of a .NET developer but the concept itself can be applied to any suitable situation on any development platform. Typically, this is how the simple design would like:
 |
| MVPVM Design Pattern Source: MSDN Magazine December 2011 |
Let's kill them part by part.
View
The user interacts with the view and this view delegates the user input actions to the presenter.
View Model
This is nothing more than a class having Properties to which the controls in the UI bind to. And yes, they will have declarations of the Relay/Delegate Commands.
Model
Again a class which models your data source (XML, JSON, Database, whatever! ).
Presenter
This is where you'd see most of your code. This class will have the implementation of Commands and hence will decide what happens on user input. Also, presenter will talk to the Business components which in turn will talk to Data Access components to get/put the data in from/to the Database.
Hope that crisp explanation was clear. Moreover, the diagram speaks for itself. Please comment if you have any doubt and I will try my best to address it.
Now comes the fun part, CODE! Yipeeeeeeeeee!
Implementation
In this section we will see a very simple implementation of MVPVM by creating a WPF Application. Let's get started!
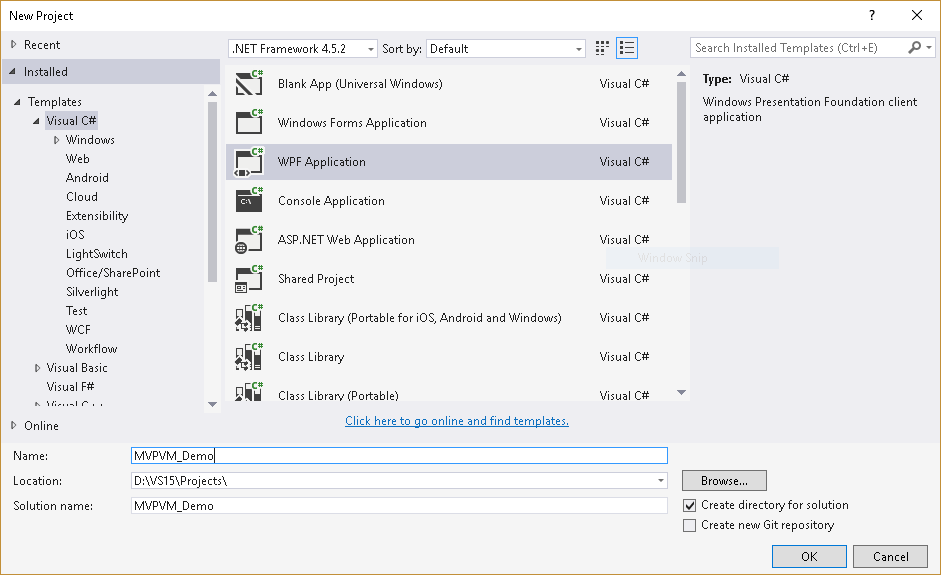
Step 1 - Create a WPF Application as shown below:
Step 2 - Make your project structure look like this. Add the necessary folders & files as shown below:

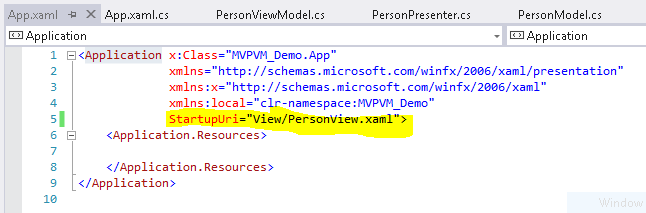
Step 3 - This is more of a tip. Just make sure that your App.xaml points to the correct view to show when the application starts as shown below:
Step 4 - Let us first design our view(PersonView.xaml). It will consist of a simple ListView which will show list of Persons and a Button. It will look like this:

Step 5 - This is how our Model class(PersonModel.cs) will look like. Pretty simple! Just one property i.e. Name.

Step 6 - This is how our ViewModel(PersonViewModel.cs) class will look like. Take special note of the Button Command Binding and ItemSource Binding of ListView. Obvious binding stuff, right ?

Step 7 - Alright! Here's the magic. This is how our presenter (PersonPresenter.cs) class will look like. Take special note of command handler implementation and the creation of ViewModel object inside the presenter.

Step 8 - This is how our PersonView code behind class will look like. Look at the minimal wiring we need. That's the beauty of XAML and MVPVM. As we all know, we should try to have as less code in code behind as possible to avoid strong coupling.

Step 9 - That's it! See the application in action. Click on any Person on the list and press the button. A message dialog appears stating which person is selected.

The above was a very simple application just to explain the concept.When you actually work on an enterprise level application having large and complex code base, you'll be more comfortable realizing the benefits of using patterns like MVPVM, MVVM, etc... Also, you will find people implementing the design pattern in different ways, but you should get the main concept. That's important. I know you'll have your own perspective and thought on this topic. I really appreciate that. Please use the comments section below and speak out loud.
Summary
The objective is to have separation of concerns. ViewModel just declares the Properties and Relay Commands to which View Binds. The main logic resides in the Presenter. The Code Behind class just instantiates the object of Presnter class and sets the Data Context to ViewModel property present in Presenter.
Edit 1: One of my colleagues suggested the following point - When you use MVVM, the view model gets bloated with properties, business logic and hence becomes fat. But If you use MVPVM, your view model has just the declared properties and commands. All the business logic resides in presenter. That also gives us the possibility of reusing the view model if required.
Hope that was informative.Good Day!
Thank you for this post. My team uses MVPVM for the Android application and I needed to understand this design pattern as I am new to software engineering. Your explanation was really good. I need more time and practise to fully understand the benefits of MVPVM, but this gave me a great start! Thank you :)
ReplyDeleteGlad it helped Pal !!
Delete